
Ways to Clean Your Vape Tanks and Coils
Many people have the habit of vaping but sometimes, they don’t get to experience the best performance of the vape. The best way is to clean the vape which enhances the experience overall. Cleaning is integral as it stops the accumulation of residues from the flavorings and juices. Uncleaned vapes are the main reason of decreased flavors and vapor formation leading towards a distasteful flavor. The coils inside the vape get dirty and oily due to the vegetable glycerin and other additives used in the vape liquids. The coil needs to be cleansed thoroughly as any kind of aroma will last in there whether it is of coffee, tobacco or any other strong flavor. Therefore, it is important to first make your equipment neat and clean so as to have a happy vaping performance. Even new vapes in the market can sometimes smell bad though they don’t have an oily or greasy appearance. No matter you have a new or an old vape, in order to have the best performance, you should always clean your product first and here we present some easy ways to clean your vape tanks.
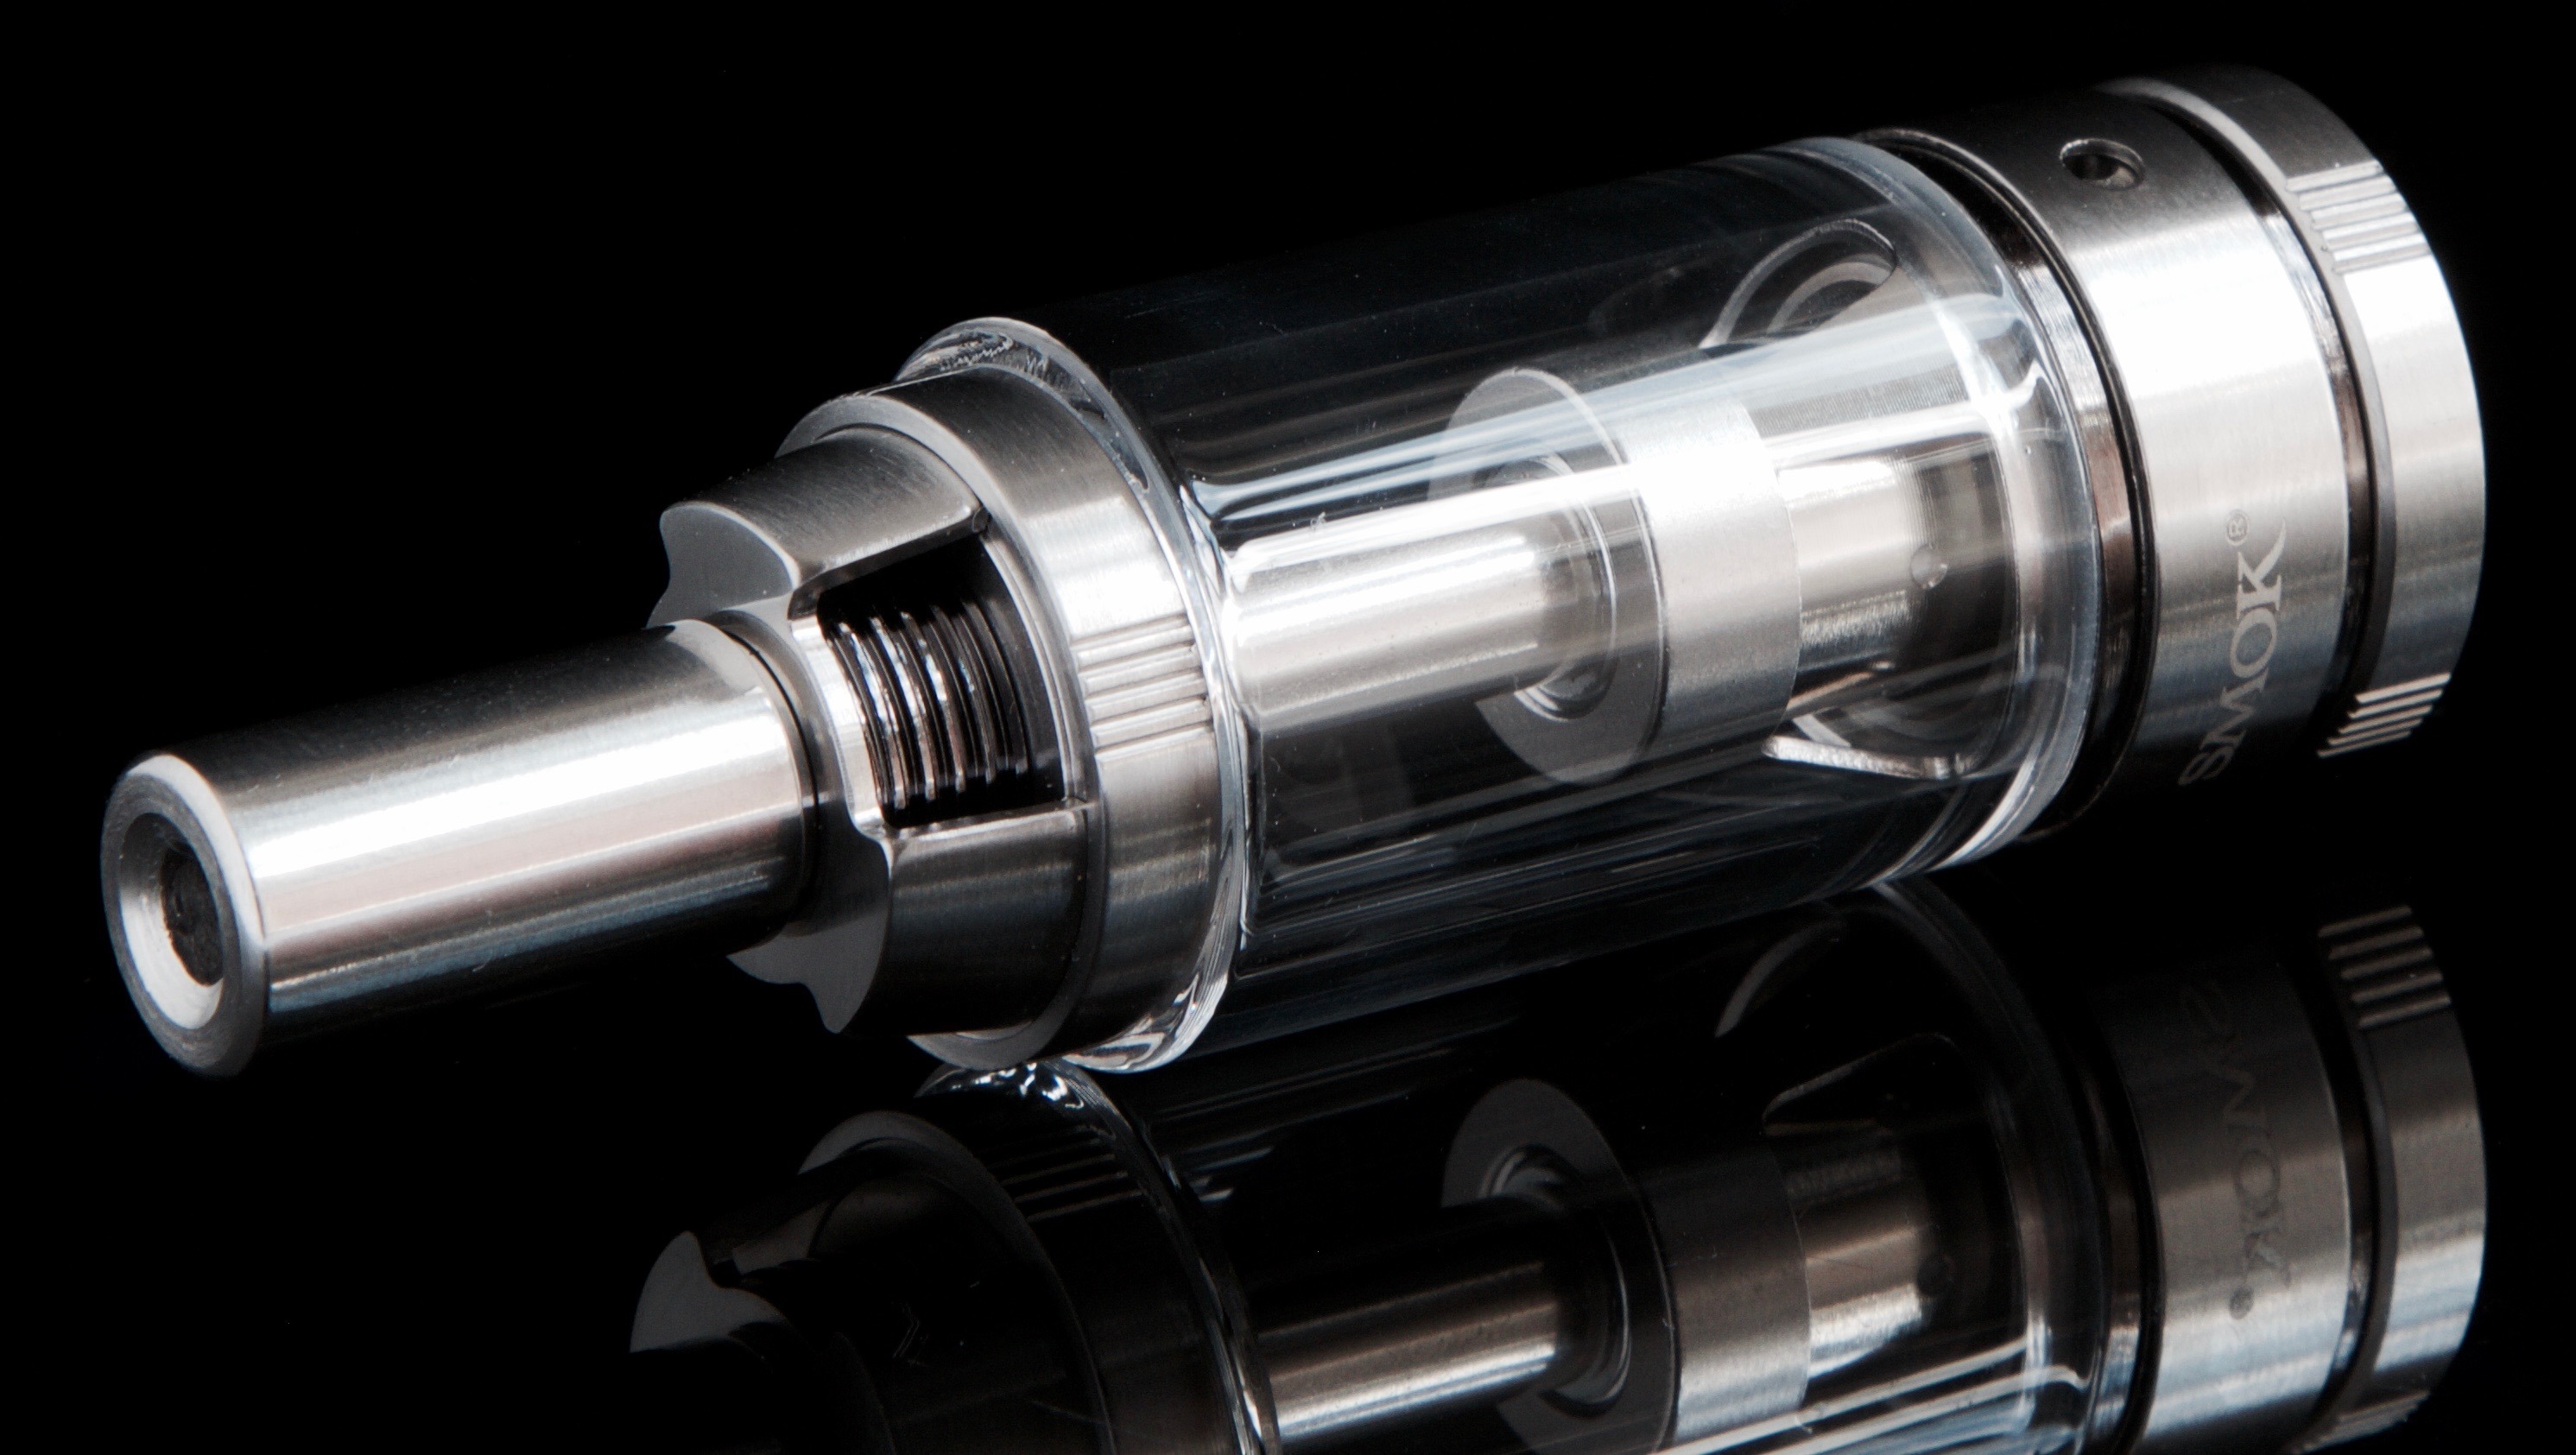
Procedure of Cleaning a Vape Tank
The first step to clean a vape tank involves the removal of coils from the tank itself. But, make sure to first have a complete look on how all the things are connected to each other. Make your work organized and neat and keep a track of all the nuts and bolts. Try to take out the materials in an orderly fashion so you know how and where to put them back once you are done cleaning the tank. Some of the most effective vape tank cleaning methods include:
1.Standard Rinsing
This method consists of cleaning the tank with warm and running water. Pull the tank apart and put each portion under the running water followed by their drying with a soft cloth or paper towel. Make sure they are nicely dried until there is no condensation left. For newly purchased tanks, the washing will take less time but if you have an old tank, then you will need to wash it again thoroughly. Next step is place the washed tank into a bowl of microwaved lukewarm water. Make sure to dissemble the tank before putting it in the bowl of water. Make the parts sit in the water until its temperature drops and finally once again, rinse the tank one more time under the tap. Then, dry the tank with gentle hand and place it for drying. Blow drying can be done also but at very minimum temperature as it can affect the O-rings of the tank.
2.Rinsing with Polyethylene Glycol
Another way to clean your vape tank is by washing it with polyethylene glycol. For this type of rinsing, fill a bowl with polyethylene glycol and place the disassembled pieces of the tank in the solution. After one or two hours, take out the pieces and dry them on paper towels. This method is more recommended as compared to the standard rinsing as polyethylene glycol helps to suck all the left over flavors from the tank’s coils.
3.Rinsing with a Cleaning Solution
Another best way to clean the vape tank is employment of common household cleaning agents. Apply the cleaning solution to the separated parts of the tank and wash them thoroughly afterwards. Among the common cleaning agents, baking soda is one of the best example as it not only just take the bad flavors away but, also makes the vape tank shiny and sparkling again. Apart from the baking soda, ethanol is highly recommended as it is the best cleaning agent out there. Vinegar helps to deeply cleanse the vape but require thorough washing to make its smell go away. Another economical way to cleanse your tank is to make use of a cheap quality vodka which will make your work easy without costing you so much money. Washing the item with cleaning soap is tedious as you will need to wash it many times so, it is advisable to wash it with the above mentioned agents.
4.Advanced Way of Cleansing the Vape Tank
To achieve high quality cleaning, you can use an ultrasonic device which is mostly employed for cleaning jewelry and metals. However, now the device has been used by many vapers for cleaning their atomizers. The process is quite simple which simply involves filling the device with water and run it for as long as it completely cleans the parts of the vape tank. Adding a few drops of dishwashing liquid can give more refined results but make sure to wash and dry the tank properly afterwards.
Procedure of Cleaning Vape Coils
The coils in the vape tanks are replaceable and they come in two different varieties. The coil for the tanks’ heads which are mostly enclosed in a small chamber made of metal consisting of an absorbent wick. The second one usually requires to be wicked and installed. The methods for cleaning both types of coils are totally different and unique from each other.
Replaceable coils heads
Such coil heads that carry clearomizers and sub ohm tanks can be cleaned but their efficiency is reduced, so they work for just an extra few days (mainly due to wicks). Washing coils with water can take out only some residue. Besides, you will need long time to dry them completely.
Here is the procedure to clean them.
-
Immerse the coils in vinegar, ethanol or inexpensive vodka for a few hours
-
Rinse them in running tap water and wash with distilled water
-
Blow dry the coils to remove any water
-
Let them dry completely under the sun (or heater)
The process will give fresher look to the wicks but they will still need a replacement very soon.
Rebuildable coils
In case of rebuildable atomizers, it is appropriate to clean the coils as choked coils negatively affect vapor formation and flavor. Here is now you can give a new life to the coils.
-
Take out the wicks
-
Lightly dry burn the wicks if the coils are in good condition
-
Remove the liquid by pressing fire button
-
Re-wick after cooling them down
This procedure is valid only for initial 2-3 times. After that you would need cleaning to go deeper. Here is how to go about it.
-
Lightly dry burn the wicks after removing them from the coils
-
Rinse the atomizer under running tap water after disengaging it from the mod
-
Use the coil cleaner tool (or tooth brush) to gently clean it and rinse again under hot water. Dish washing liquid is another good choice for this purpose
-
Dry burn again to completely dry it
In certain cases, where the coils are still choked (affecting flavor creation), you may need to build the atomizer again. It is important to remember that good maintenance will extend coil life but they don’t still last forever.
Cleansing the Vape Pen
The detachable tanks which have the vape pens are easier to clean by simply following the vape tank cleansing protocols. However, the battery should be handled with care and must only be cleaned by using a soft piece of fiber. A wet towel can also be used to remove the stains but try to don’t use it on the charging ports and buttons.
Vape pens which have a one piece design require more effort and training in cleaning. As cleaning the electronic devices with water can be dangerous, a safe way is to just use a Q-tip. A soaked Q-tip in propylene glycol or even distilled water would be enough to clean the AIO vape pen. This is a simple and much easier way to remove the gunk effectively.
Changing E-Liquid
Many vapers get confused about the cleaning of the vape tanks after the changing of e-liquids. This process is hectic and it is not pertinent to clean the tank when you change the liquids. The emptied vape tank before the liquid changing does not requires much effort particularly if the flavors of the two juices are similar. But, for those juices which are different in flavors, you will not be satisfied with the flavors. In order to avoid this, you need to first remove all the e-liquid from the tank and try to take short durations of puffs. The short puffs will help to dry up the wicks. For regulated devices, you should decrease the wattage which will ensure your safety. Changing flavors as the wicks are drying will be faster but, you will have still get to taste some mixed flavors puffs during the procedure.
Vapers who use Rebuildable vape coils, don’t have to worry much as this procedure is quite easy. RDAs are highly effective for switching the flavors. You just need to take the top cap off and keep on blowing the coils as you fire the device. This will show that the wicks are drying up and turning into white. Make sure to not repeat the process too much as it can lead towards burning. Then at last, you can pour your new juice on the coils and keep on vaping.
Photo sources: pixabay.com, shutterstock.com, pexels.com, flickr.com, gettyimages.com, istockphoto.com, unsplash.com, freeimages.com, 500px.com, rgbstock.com